Run OSWorld
Agent Baselines
If you wish to run the baseline agent used in our paper, you can execute the following command as an example under the GPT-4V pure-screenshot setting:
Set OPENAI_API_KEY environment variable with your API key
export OPENAI_API_KEY='changme'
python run.py --path_to_vm Ubuntu/Ubuntu.vmx --headless --observation_type screenshot --model gpt-4-vision-preview --result_dir ./results
The results, which include screenshots, actions, and video recordings of the agent’s task completion, will be saved in the ./results directory in this case. You can then run the following command to obtain the result:
python show_result.py
Evaluation
Please start by reading through the agent interface and the environment interface.
Correctly implement the agent interface and import your customized version in the run.py file.
Afterward, you can execute a command similar to the one in the previous section to run the benchmark on your agent.
Run some OSWorld examples requiring a Google account by following these steps:
Real Accounts
For tasks including Google or Google Drive, we need a real Google account as well as configured OAuth2.0 secrets.
Attention
To prevent environment reset and result evaluation conflicts caused by multiple people using the same Google account simultaneously, we will not provide the public test accounts available. Please register a private Google account.
Register A Blank Google Account
Go to Google web site and register a blank new account
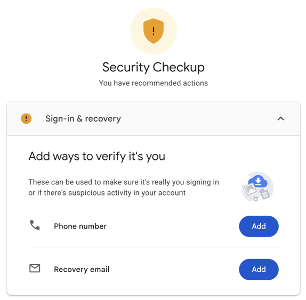
In this testbed, you do not need to provide any recovery email or phone, since we only use it for testing cases
Just IGNORE any security recommendations
Shut OFF the 2-Step Verification to avoid failure in environment setup (requesting phone verification code)
Shut Off 2-Step Verification
Attention
We strongly recommend that you register a new blank account instead of using an existing one, in order to avoid messing up your personal workspace.
Next, copy and rename the template file
settings.json.templateintosettings.jsonunder folderevaluation_examples/settings/google/. Remember to replace the two fieldsemailandpassword:
these two fields are used to simulate real people login to Chrome browser during environment setup for relevant examples in the virtual machine
{
    "email": "your_google_account@gmail.com",
    "password": "your_google_account_password"
}
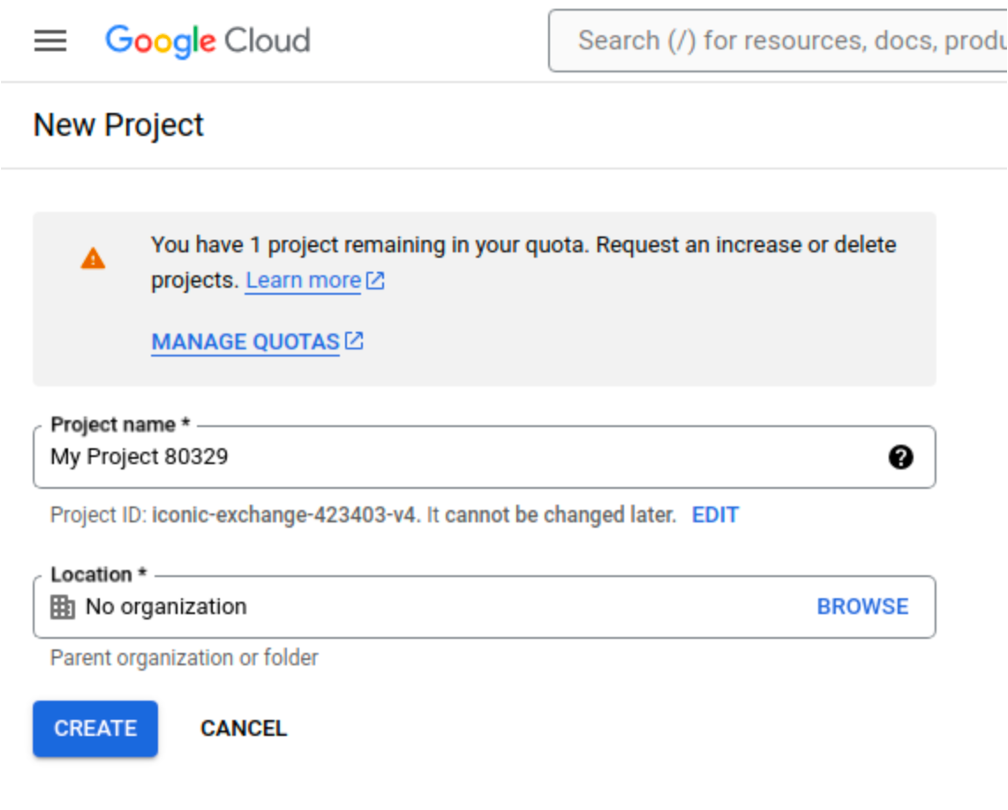
Create A Google Cloud Project
Navigate to Google Cloud Project Creation page and create a new GCP (see Create a Google Cloud Project for detailed steps). You can use any project name.
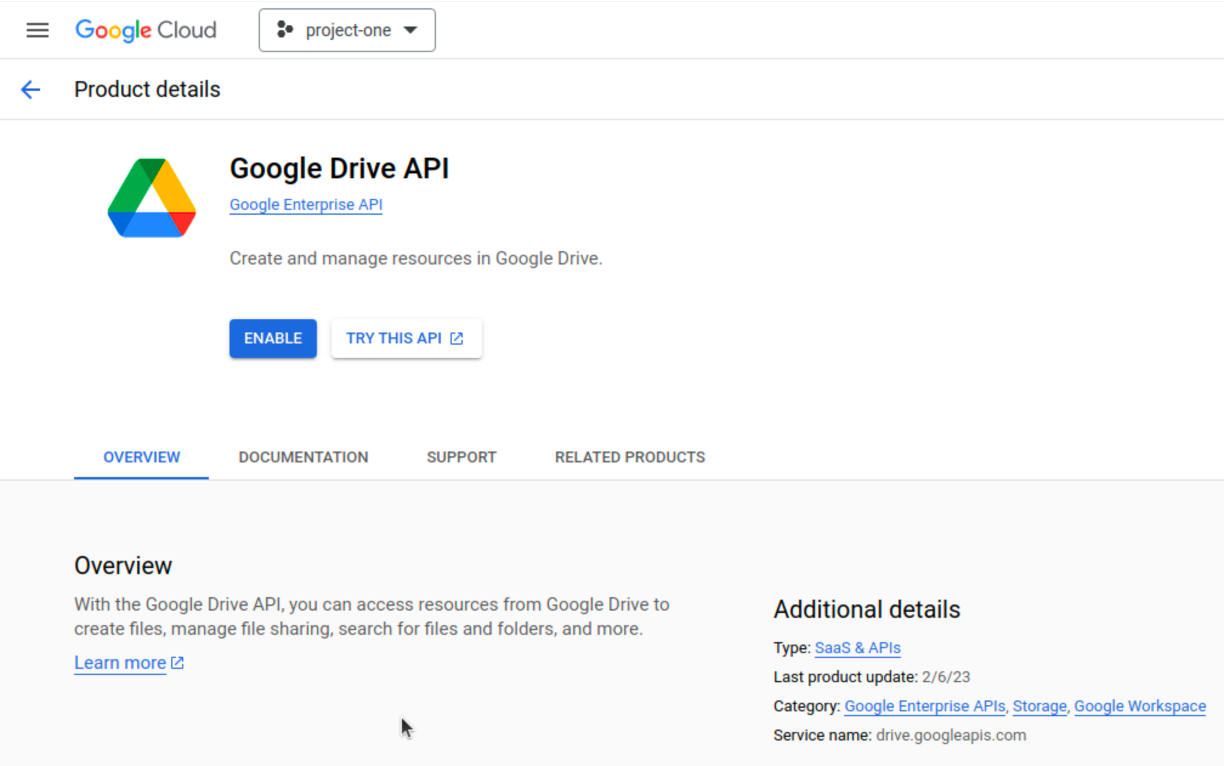
Go to the Google Drive API console and enable the GoogleDrive API for the created project (see Enable and disable APIs for detailed steps)
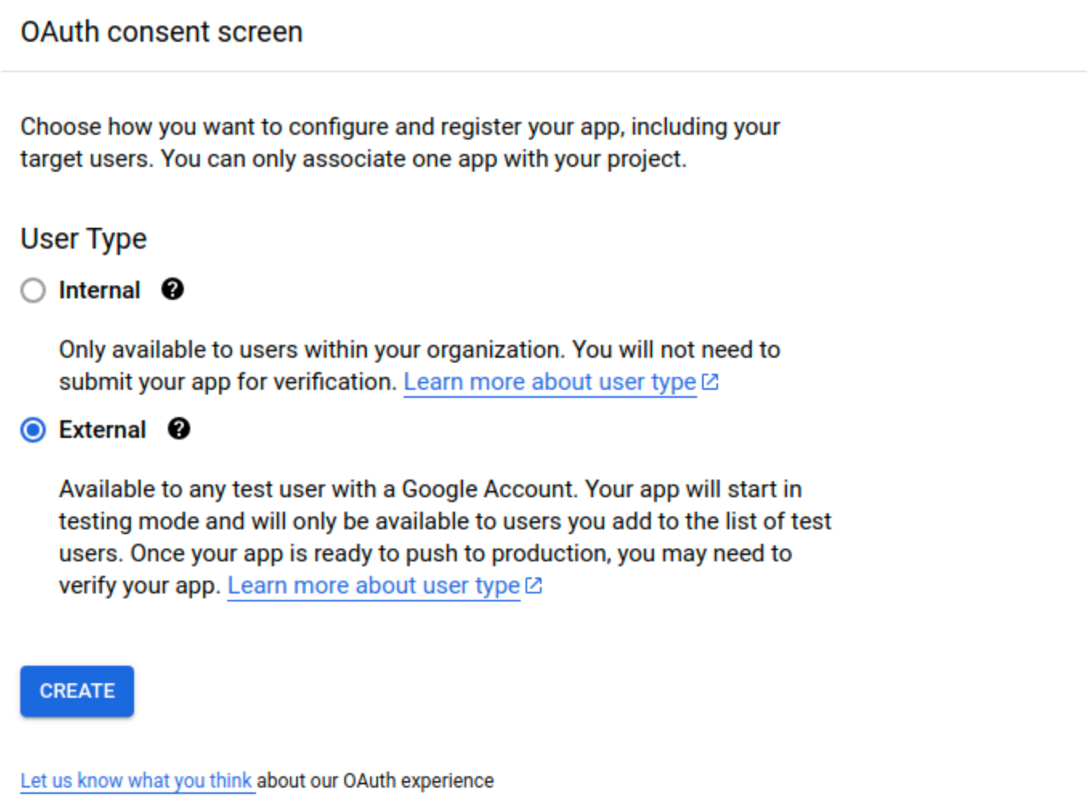
Configure OAuth Consent Screen
To configure the OAuth2.0 screen for the created GCP, go to page OAuth consent screen:
For User Type, choose “External” and click “Create”
For App information, type in any App name you like (e.g., DataAccess), and choose the current Google Gmail into the field
User support email.
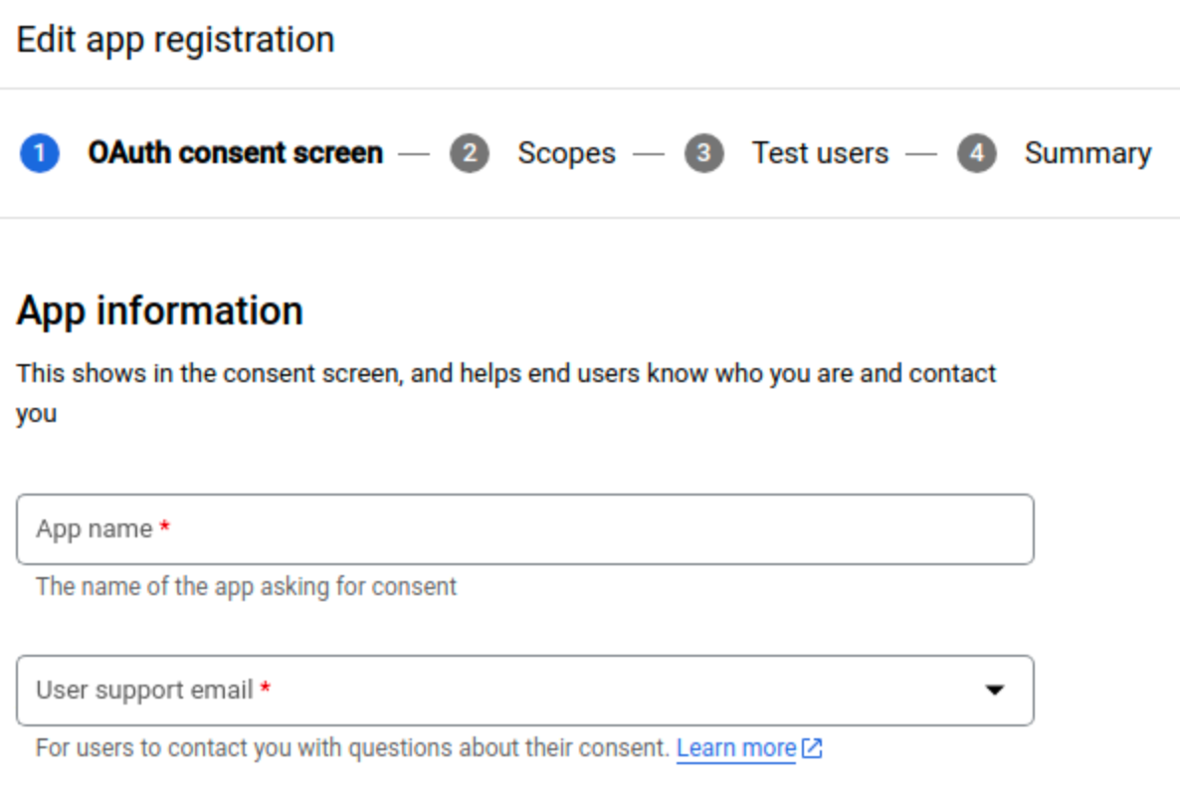
For Developer information, also fill in the current Gmail account. Leave other fields blank and click the button “SAVE AND CONTINUE”.
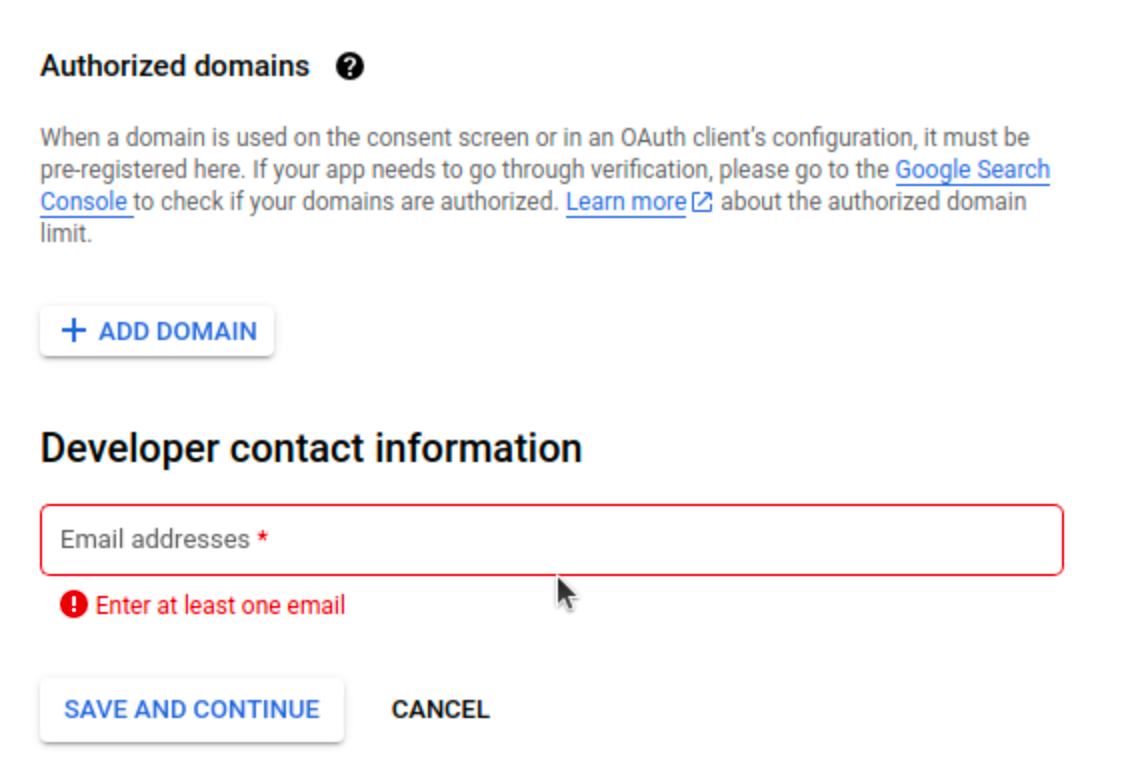
Leave fields blank for
Scopesand continue toTest Users. Add the current Gmail account via clicking button “+ ADD USERS”.
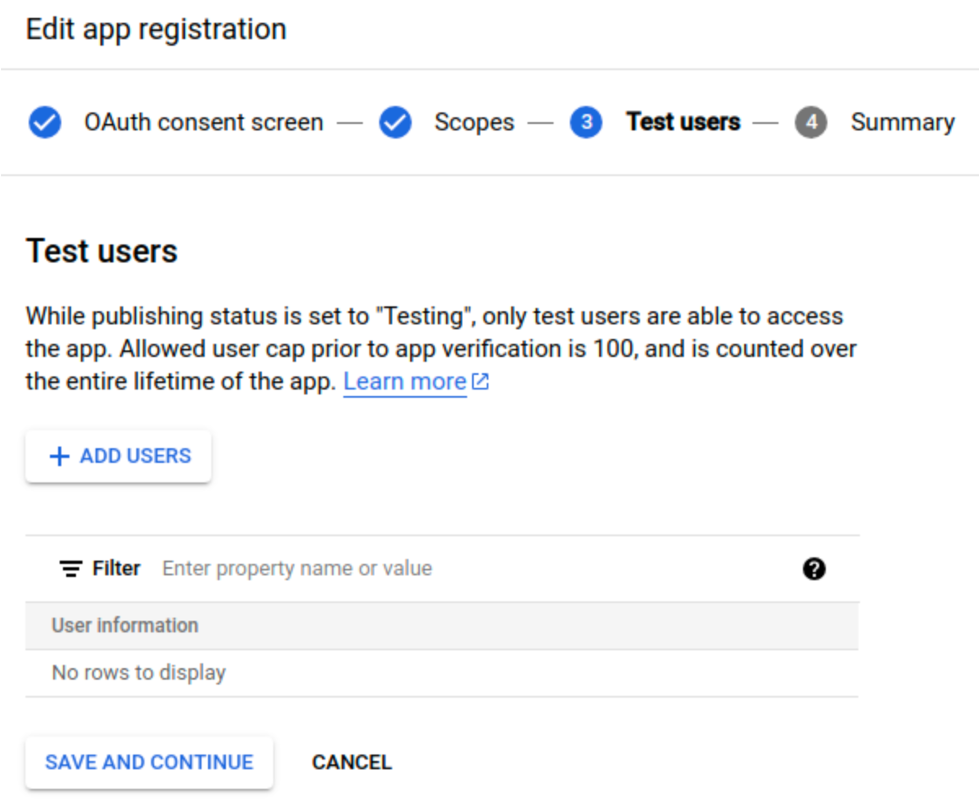
Finish all configuration and we will come to the configured OAuth consent screen. There is another thing, PUBLISH APP to extend the lifecycle of credentials. Otherwise, the refresh token is only valid in 7 days (refer to google official doc and stackoverflow post for details).

Create OAuth2.0 Credentials
Go to the credentials page, click “CREATE CREDENTIALS -> OAuth client ID”
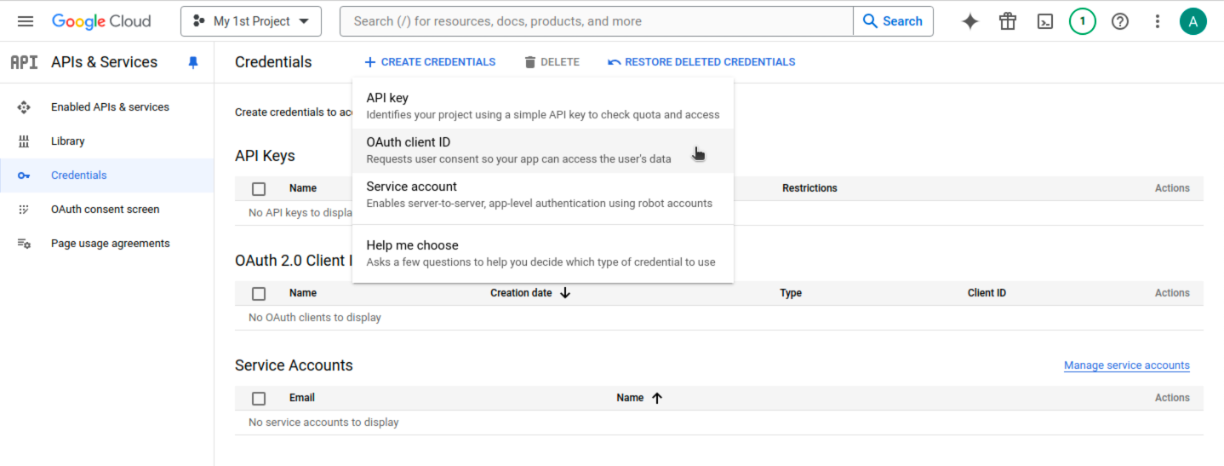
For Application type, please choose “Desktop app”. You can use any Name. And click “CREATE”.

Now, in the pop-up window, you can download the JSON file
client_secret_xxxxx.json. Move and rename this .json file to file pathevaluation_examples/settings/googledrive/client_secrets.jsonin the OSWorld project. The folder should look like:
- evaluation_examples/
  - settings/
    - google/
      - settings.json
      - settings.json.template
    - googledrive/
      - settings.yml
      - client_secrets.json
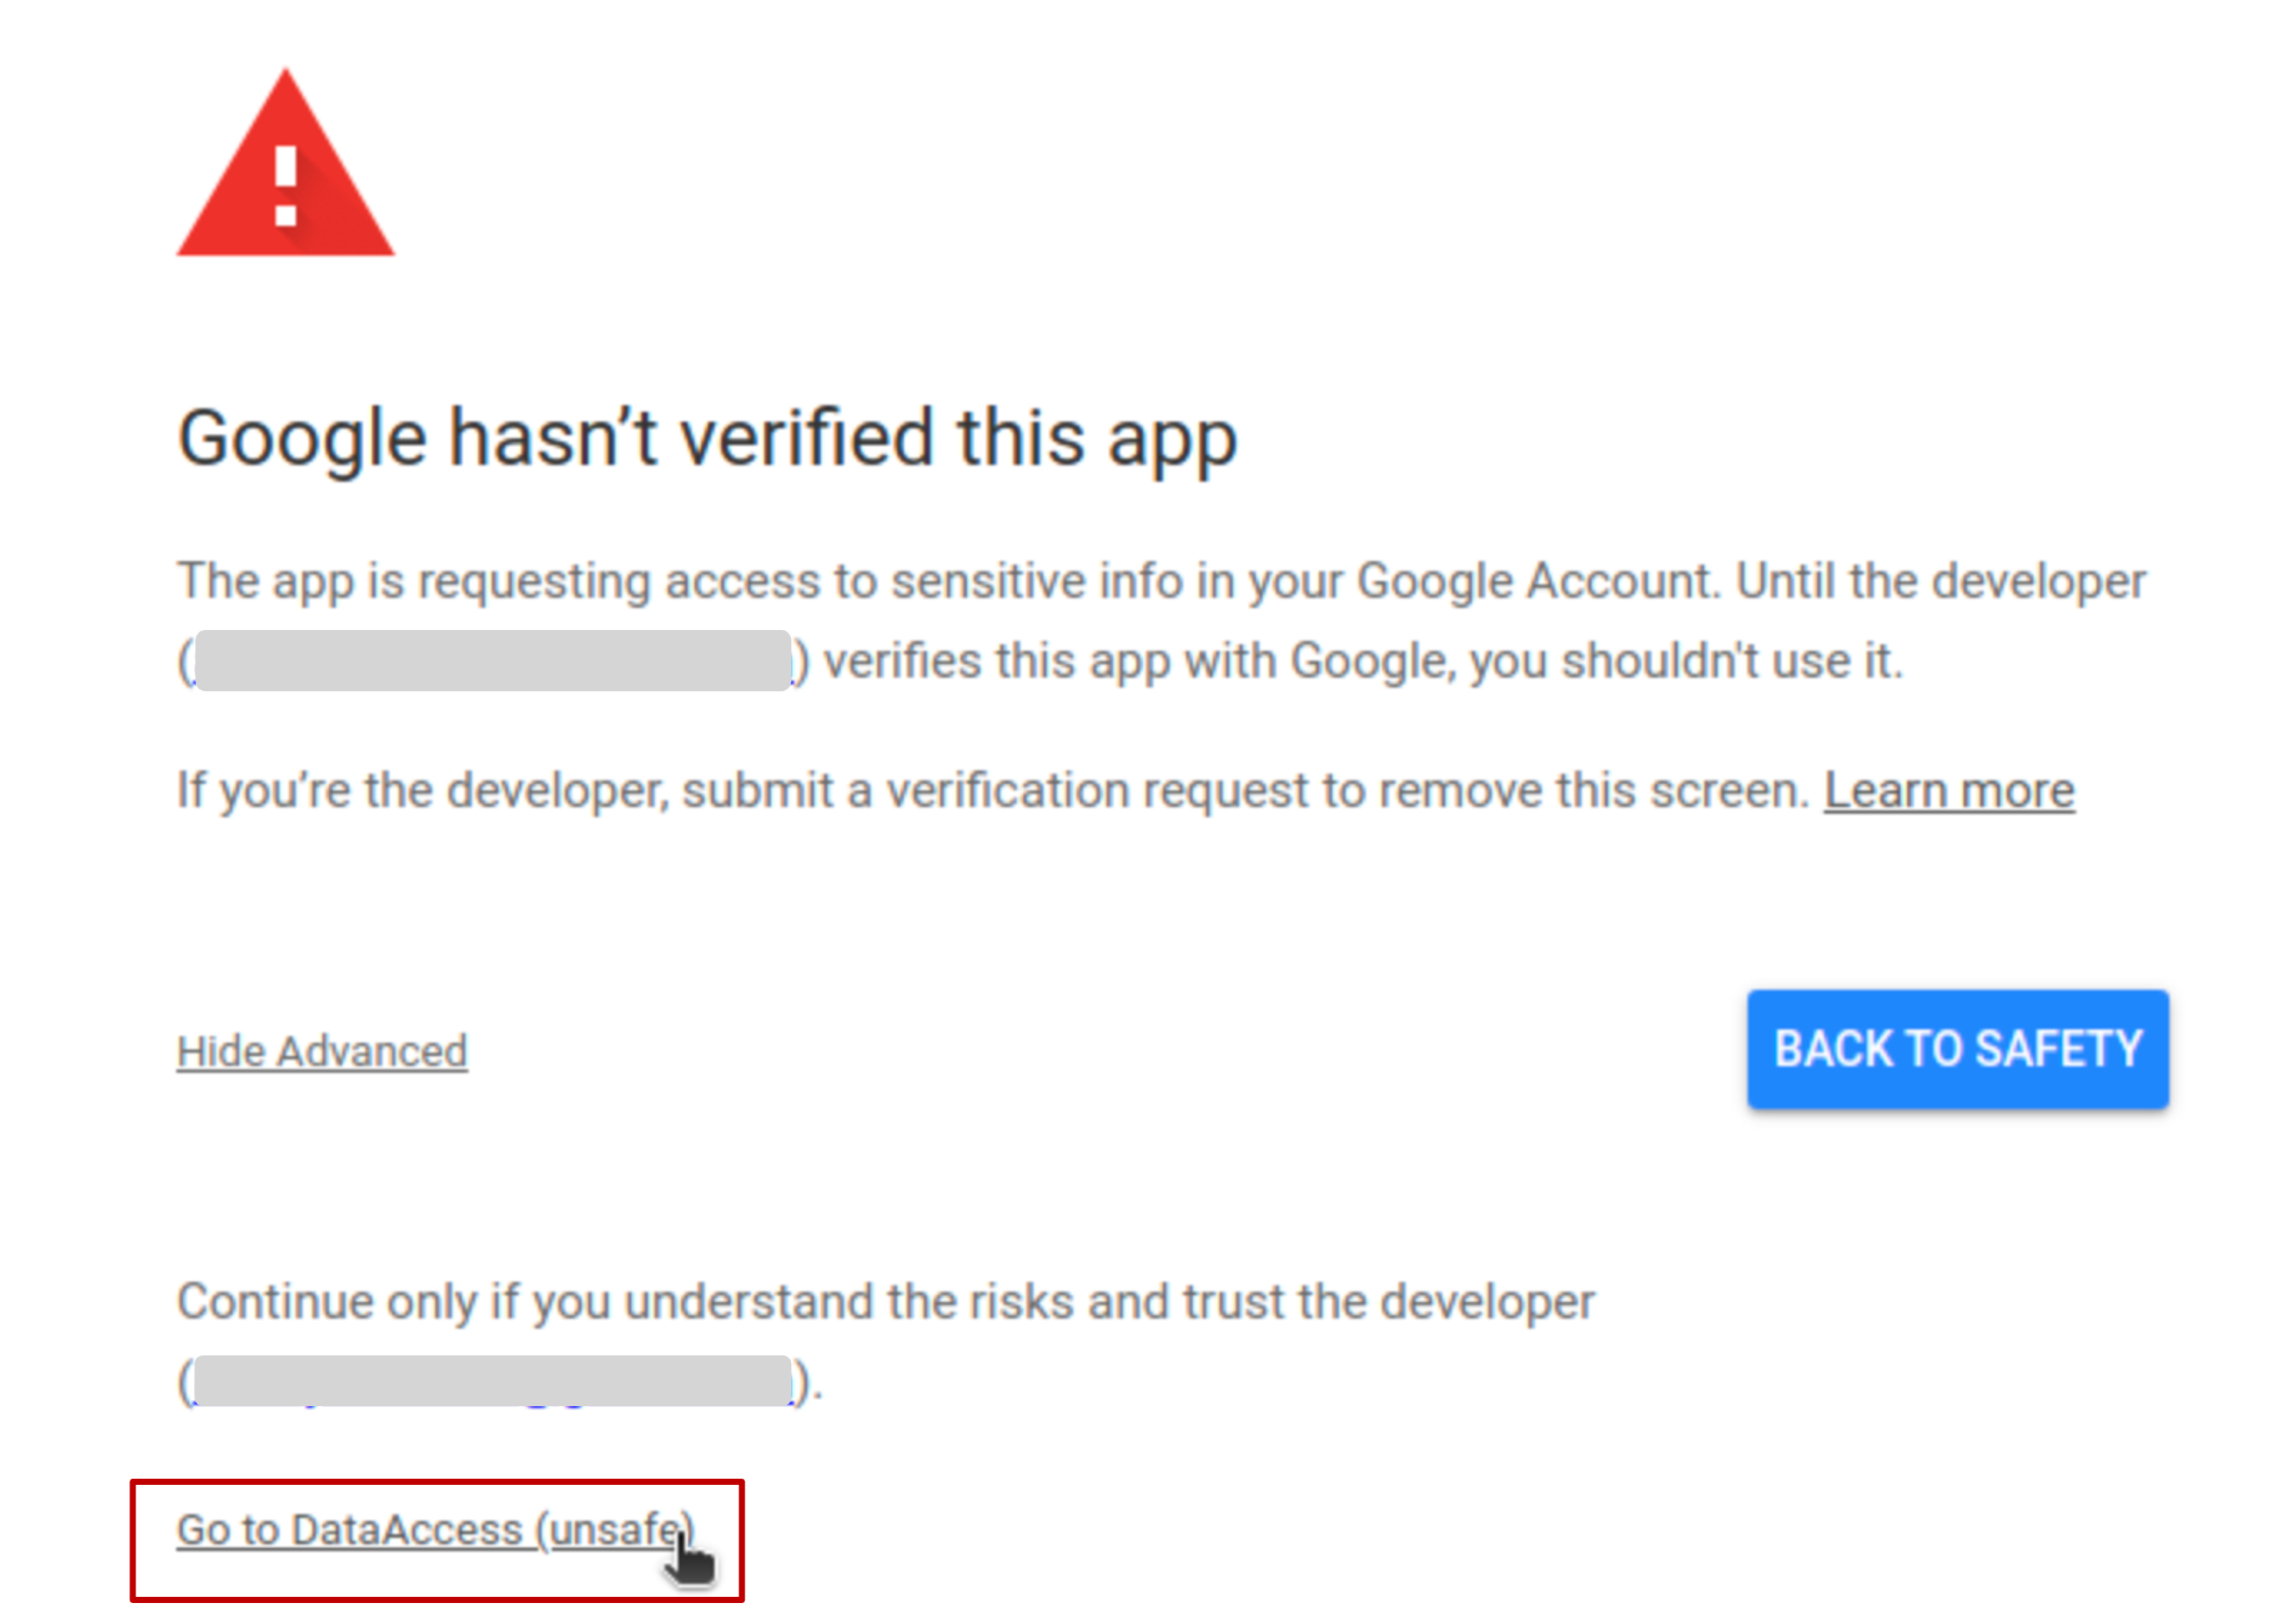
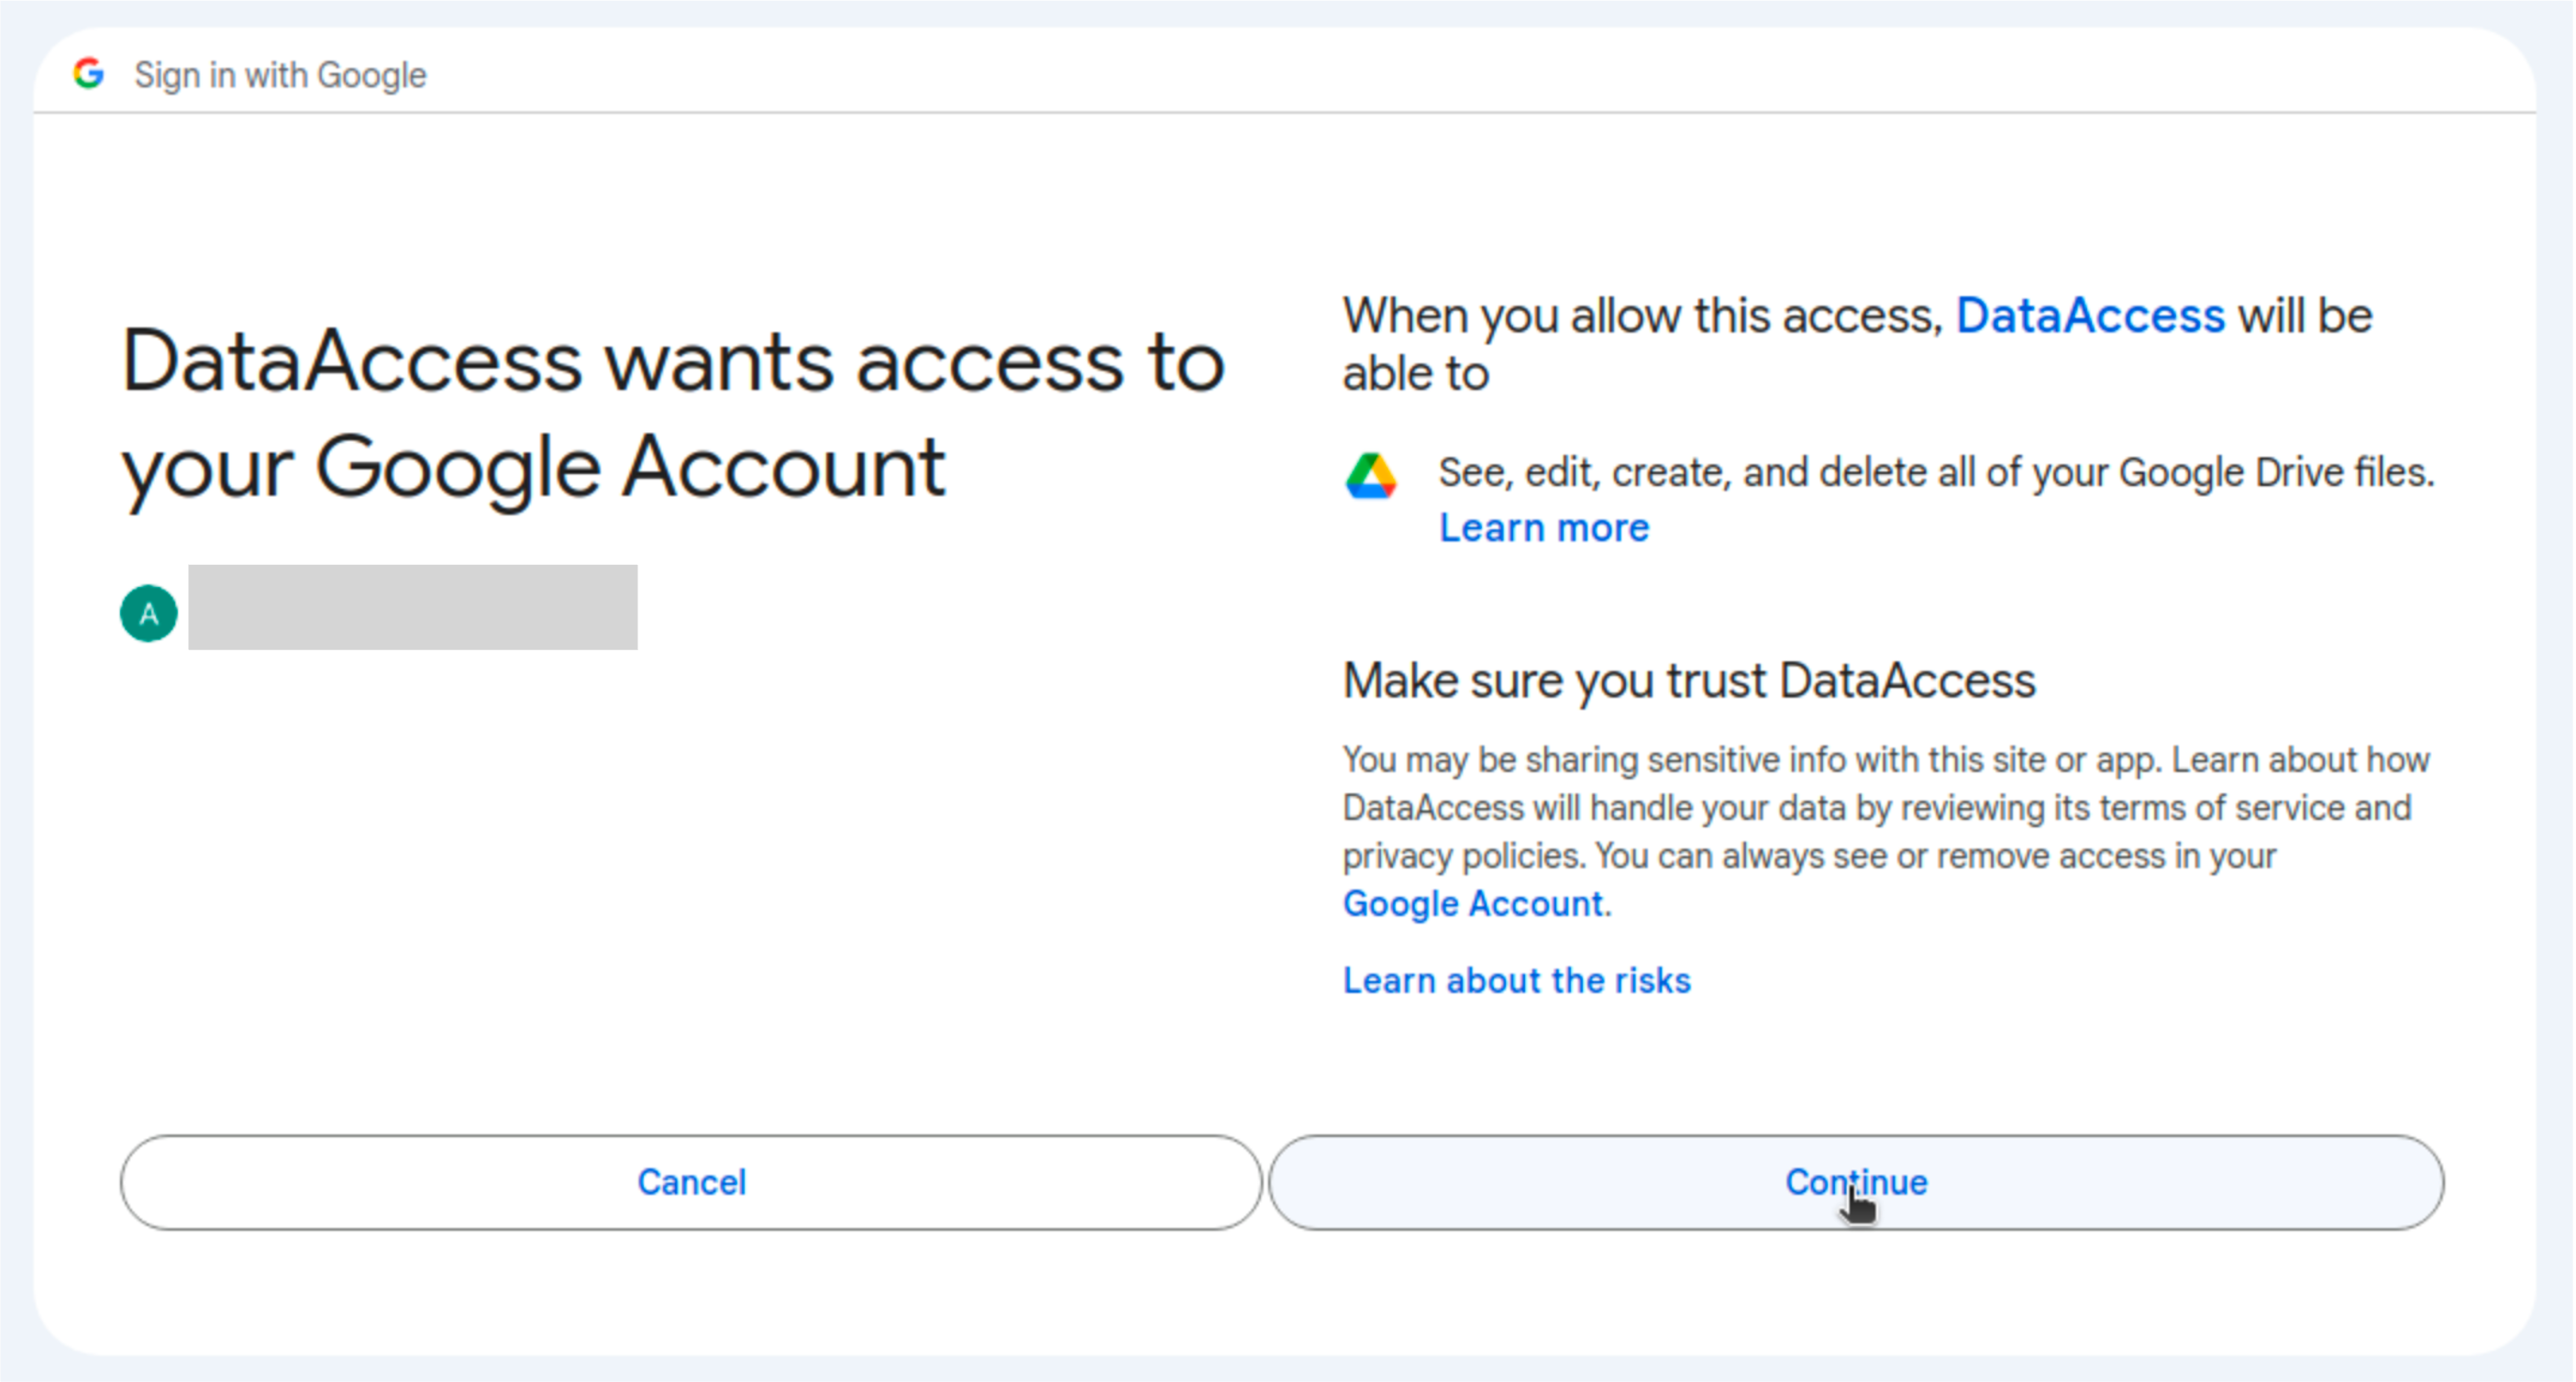
Note that, when you first run a task including Google Drive, there will be a URL requesting your permission. Open the link in unsafe mode using the Gmail you filled in
evaluation_examples/settings/google/settings.json, authorize, and confirm your choice once for all. Eventually, you will see a prompt message “The authentication flow has completed.” on a blank web page.
Generating credentials.json for Public Eval (Optional)
If you are using Public Eval for evaluation, you need to complete the OAuth2 authorization locally, and then upload the generated credentials.json file to your AWS Host instance.
Please follow the steps below:
-
Run the following Python script on your local machine (make sure you have installed
google-auth-oauthlibandgoogle-auth):from google_auth_oauthlib.flow import InstalledAppFlow import json SCOPES = ['https://www.googleapis.com/auth/drive'] flow = InstalledAppFlow.from_client_secrets_file( 'client_secrets.json', scopes=SCOPES ) credentials = flow.run_local_server(port=0) with open('credentials.json', 'w') as f: f.write(credentials.to_json()) print("OAuth2 credentials have been saved to credentials.json.")Note
This script will open a browser window for you to log in and authorize access using the configured Google account.
After successful authorization, a
credentials.jsonfile will be generated on your local machine. -
Upload this file to your AWS Host instance and place it at the following path:
OSWorld/evaluation_examples/settings/googledrive/credentials.json
After the setup, your directory structure on the AWS Host should look like this:
evaluation_examples/
├── examples/
├── examples_windows/
├── settings/
│   ├── google/
│   │   ├── settings.json
│   │   ├── settings.json.template
│   ├── googledrive/
│   │   ├── client_secrets.json
│   │   ├── credentials.json
│   │   ├── settings.yml
│   └── thunderbird/
Potential Issues
Due to strict checks by Google safety teams, even if we shut down the 2-step verification, Google still detects potential risks of your account, especially when you frequently change the login device. You may encounter the following issues:
Phone Verification Code Required
When the VM tries to log into the Google Drive page, Google requests you to provide a phone number and verification code. This may occur when you change your IP or device for the first time.
To solve it, typing any phone number is adequate (since we shut off the 2-step verification and do not provide any recovery phone number). And fill in the received verification code. After that, hopefully, Google will remember this new login IP or device. Now, you can restart the task, and this time, it should work.
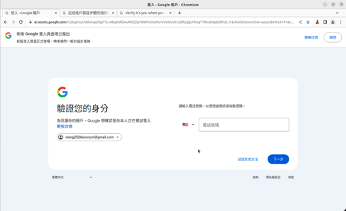
Identity Verification
In this case, Google does not give you the chance to use a phone verification code. Since we do not provide any recovery email/phone and shut down the 2-step verification, we are unable to log in from the new device. We hypothesize that this problem may occur when you frequently change the login IPs or devices, such that Google detects the unusual usages. The only solution is to reset the password from the device in which you register this Google account.
Attention
Sadly, we do not have a permanent solution. The only suggestion is not to frequently change your login IP or device. If you encounter any problem above, Google may urge you to change the password. Also, remember to update the password in evaluation_examples/settings/google/settings.json.
Run in Parallel
We manage the virtual machines in the code so that you can initialize multiple DesktopEnv environments to accelerate benchmark testing or environment exploration runs. You can initialize multiple DesktopEnv variables as follows:
env1 = DesktopEnv()
env2 = DesktopEnv()
...
The OSWorld code will automatically check the available virtual machines for the required variables. If none are available, it will automatically download, configure, and install new ones to meet the requirements (or obtain from a cloud platform).